Friday, 7 October 2011

Homemade Spiced Cranberry Sauce


Why not make your own cranberry sauce? They're in season, the process is simple and surely it must be better than that weird gelatinous stuff that goes "shkkhhk" when it  plops out of the can! Here's what you need...

Ingredients:
8 cups fresh cranberries
2 cups water
2 cups orange juice
4 cups granulated sugar
2 cinnamon sticks
5-7 all spice
1 teaspoon of freshly ground ginger
1 teaspoon orange zest
      Makes approximately 10-12 x 250 or 6 X 500 ml jars

Directions:
-Place your jars on a rack in a boiling water canner; cover jars with water and heat to a simmer. Set screw bands aside. Heat SNAP LID® sealing discs in hot water, not boiling (if boiling, the friction can scratch the enamel and then you won't get a nice seal). Keep jars and sealing discs hot until ready to use.

-Wash cranberries; drain. Pick out the bad ones, anything mushy, or the predominantly white cranberries.
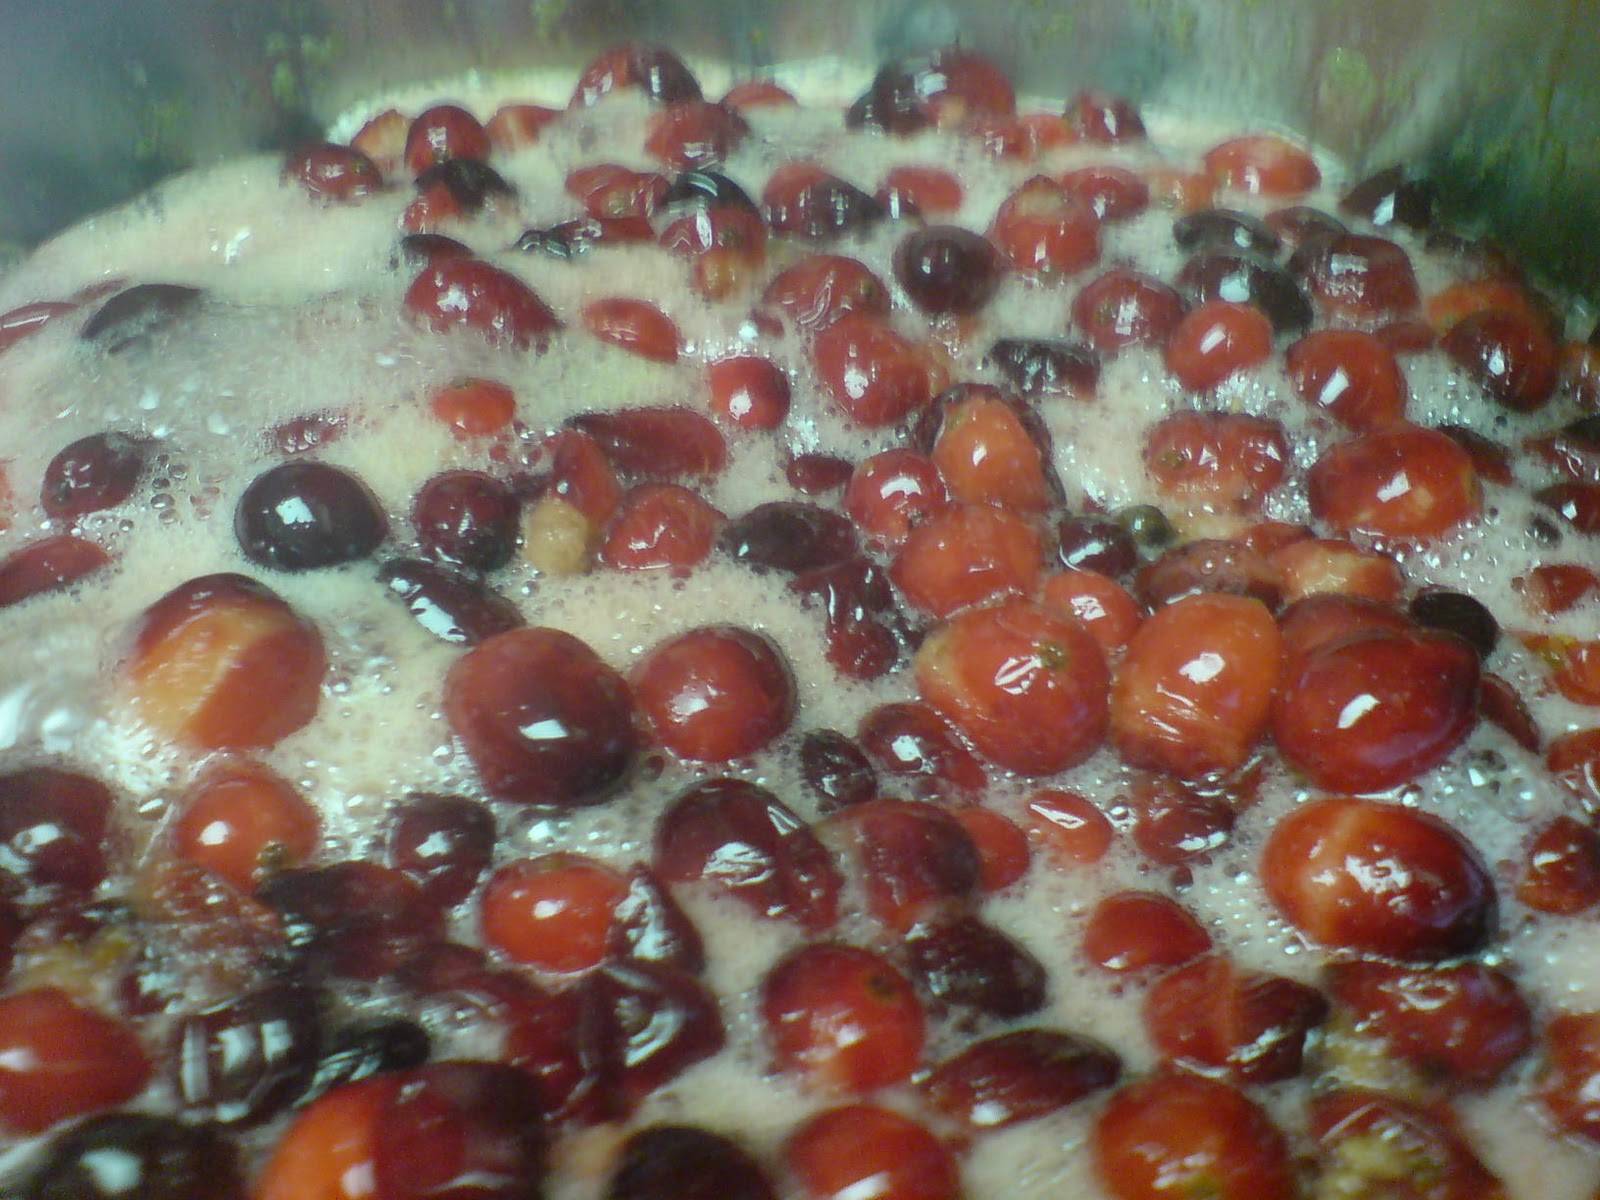
-Combine sugar, water and orange juice in a large stainless steel saucepan. Cover and bring to a boil; add cinnamon, all spice, orange zest and ginger. Boil 5 minutes (not too high/hot, orange juice likes to foam!). Add cranberries. Return mixture to a boil; continue cooking without stirring until skins burst. You'll hear lovely bursting sounds, careful you don't get sprayed!!

-Ladle hot sauce into a hot jar to within 1/2 inch (1 cm) of top of jar (headspace). Using nonmetallic utensil, remove air bubbles and adjust headspace.

-Wipe jar rim removing any food residue. Centre hot sealing disc on clean jar rim. Screw band down until resistance is met, then increase to fingertip tight. Return filled jar to rack in canner.

-When canner is filled, ensure that all jars are covered by at least one inch (2.5 cm) of water. Cover canner and bring water to full rolling boil before starting to count processing time. Boil/process filled jars; 250 ml jars= 10 minutes; 500 ml jars = 15 minutes.

-When processing time is complete, remove canner lid, wait 5 minutes, then remove jars without tilting and place them upright on a protected work surface. Cool upright, undisturbed 24 hours; no need to retighten screw bands.

-After cooling, check jars are sealed. Sealed discs curve downward and do not move when pressed. Remove screw bands; wipe and dry bands and jars. Label and store jars in a cool, dark place.

Canned goods generally keep for one year.


I'll be bringing this to thanksgiving, and I'll let the family judge if it's any good!! 

I also did a second batch that basically followed the same process as above using the following ingredients/measurements.
-4 cups cranberries
-3/4 cup orange juice
-1 cup water
-1 cup sugar
-1/2 cup dark rum
-1 teaspoon orange zest


I don't know if the rum flavour will come through - first time making this recipe... once again, I'll let the family judge!

Wednesday, 5 October 2011

Tomatoes are Easy!


It’s the end of the growing season, harvest is upon us and surely there is, has been, or will be an abundance of tomatoes. If you can’t eat them all, and you’ve already shared them with your neighbour(s) and your local food bank, you’ve only got one option left – can those suckers!! It’s easy.


CRUSHED TOMATOES
Ingredients:
Tomatoes (prepared, i.e., skinned if you don’t want the skin, and quartered)
Lemon juice
Salt


Directions:


• Place the required number of clean 500 ml or 1 L mason jars on a rack in a boiling water canner (i.e., a very large pot); cover jars with at least 1 inch of water and heat to a simmer. Set screw bands aside. Heat SNAP LID® sealing discs in hot water, not boiling. Keep jars and sealing discs hot until ready to use.
• Blanch, peel, core and quarter tomatoes removing bruised or discoloured portions. Drop tomatoes into boiling water for a few seconds to remove the skin.


• Place 2 cups (500 ml) of tomato quarters in a large stainless steel pot. Bring to a boil while crushing and stirring to extract juice. Boil gently, stirring constantly; add remaining tomato quarters, 2 cups (500 ml) at a time. DO NOT crush tomatoes, as they will soften with heating and stirring. When all tomatoes are added, boil gently for 5 minutes.


• Place 1 tbsp (15 ml) of lemon juice and 1/2 tsp (2 ml) salt for 500 ml jars, or 2 tbsp (30 ml) lemon juice and 1.5 tsp salt, if using, 1 L jar. 

•Using a protected work surface (because HOT jars and COLD counter tops do not go well together), ladle tomatoes into a hot jar to 1/2 inch (1 cm) of top rim (headspace). Using a non-metallic utensil, remove the air bubbles and adjust headspace (space between the top of your liquid and the top of the jar), if required, by adding more tomatoes. Wipe the jar rim clean, removing any food residue. Centre hot sealing disc on clean jar rim. Screw band down until resistance is met, then increase to fingertip tight. Return filled jar to rack in canner. Repeat for remaining tomatoes.

• When canner is filled, ensure that all jars are covered by at least one inch (2.5 cm) of water. Cover canner and bring water to full rolling boil before starting to count processing time. At altitudes up to 1000 ft (305 m), process –boil filled jars – 35 minutes* for 500 ml; 45 minutes* for 1 L.


• When processing time is complete, remove canner lid, wait 5 minutes, then remove jars without tilting and place them upright on a protected work surface. Cool upright, undisturbed 24 hours; DO NOT RETIGHTEN screw bands.


After cooling check jar seals. Sealed discs curve downward and do not move when pressed. Remove screw bands; wipe and dry bands and jars. Store screw bands separately or replace loosely on jars, as desired. Label and store jars


It’s that easy folks!
Check out www.relishyomama.org for more recipes!

Monday, 8 August 2011

How Does Your Garden Grow?

Here's some photos documenting garden growth throughout the summer from the first day when the soil was tilled and seedlings were given a home to the beginning of harvest (now).


Growing tomatoes on my balcony


 Baby Eggplants


    Borlotti Beans (Cranberry Beans)

Thursday, 21 July 2011

Raspberry Anise Freezer Jam


There are quite a few different freezer jam recipes out there, some that have the usual jam proportions (i.e., way more sugar than fruit, Certo's freezer jam recipe for example). I prefer the following recipe because it doesn't use so much sugar, and ends up being super tasty no matter what fruit I use.

The Basic Freezer Jam Recipe Proportions are

-4 cups of crushed fruit
-1 to 1.5 cups of sugar
-1 pouch of Bernardin Freezer Jam Pectin
-Lemon/Lime juice and zest


Fortunately, I had four cups of raspberries fall into my lap, so - Raspberry Anise Freezer Jam! I added a teaspoon of anise to the raspberries, and three crushed pink peppercorns, but you could add any herb or spice you think pairs well with whatever 4 cups of fruit you're working with.


Wednesday, 6 July 2011

Strawberry Lime Freezer Jam


For some, making homemade jam can seem like a daunting task, but it doesn’t have to be.

Probably the easiest way to make jam is to make a freezer jam (I like to call it Lazy [wo]man’s Jam) otherwise known as ‘raw food jam’. This type of jam involves crushing fruit and mixing it with sugar and pectin (or just the fruit and pectin if you buy the "no sugar pectin"). From there, you put it into containers and into your freezer for up to one year, or in your fridge for about a month.

This is a convenient way to have ‘fresh’ fruit during the dreary winter months.

Freezer jams have less sugar than regular cooked jams, so don’t expect that crazy sweet jam taste, but you get FULL fruit flavour, and because the fruit is not cooked/boiled it probably keeps more of its good stuff, i.e., vitamins, etc…

So here’s my Strawberry Lime Freezer Jam Recipe (i LoVe it!)


Ingredients

-4 cups of crushed strawberries
-1.5 cups of white sugar
-1 45g pouch of Bernardin's Freezer Jam Pectin
-lime zest and lime juice
-Rinse your fresh, ripe, local strawberry
-Hull the strawberries
-In a bowl mix the sugar and pectin
-In a separate bowl crush your strawberries
          -Add a teaspoon of lime zest and squeeze the juice of 1/2 of the lime (or the whole lime if you're big on lime!)


-Pour the crushed strawberries and lime mixture into the bowl containing the sugar and pectin.
-Stir well for 3 minutes
-Ladle the jam into containers being sure to leave around 1cm of headspace (the space between the top of the jam and the top of the container). Put into the fridge (up to one month) or in the freezer (up to a year).  

You can use this as you would a regular jam, on bread/toast, in yogurt, on your ice cream, etc...
You could also add any other herb or flavour you think pairs well with strawberries, maybe some chopped mint, or perhaps lemon instead of lime - as long as the fruit to sugar to pectin ratios are correct (follow this recipe or whatever is on your pectin package). Check out www.relishyomama.org or Bernardin.ca for more jam recipes.

Thursday, 30 June 2011

Hand Exfoliation and Moisturizer


Got Dry Hands? Gardener’s hands? Want soft hands?

I recently came home from a wonderful week in Cuba. Maybe it was the salt water and/or the chlorinated pool, and/or being in the water a bit too long (wrinkly-soggy hands) that made my hands super dry, peeling and not so nice to the touch.
No, no, I didn’t catch a weird fungus or anything! This odd occurrence usually happens to my hands once a year or so.
My super clever co-worker whose hands also occasionally do this gave me some advice to exfoliate and moisturize my hands, and, yes, I’m about to share… excited?

She suggested to take some hand lotion, spread it on your hands and then grab a tablespoon of sugar and vigorously rub your hands together.

Here’s what I did:
-1 teaspoon of coconut oil (only 1 tsp because I have small hands, if you’ve got big man hands, go ahead and use more)
-1 heaping teaspoon of brown sugar
-Roughly rub – rub – rub for 1-2 mins.
-Gently rinse your hands.
-Gently pat or let them air dry…

                I did this once and it fixed 95% of the problem, did it a second time and my hands are back to normal! If your hands need a buff and a little moisture, give it a whirl!

Hats off to my coworker - super clever!

Saturday, 11 June 2011

Easy Homemade Popsicles

Here's another healthy summer snack idea. Make your own popsicles!


There's a couple ways you can go about it...

-Brew a fruity herbal tea (without "real" tea in it, i.e., no black or green tea as the tea base). Try hibiscus, rosehip, berries, citrus, etc. Brew a large batch of tea, however strong or weak you want. You can sweeten your tea (soon to be popsicles) with honey.

-If you really don't like tea you can try to find some low sugar juice instead, or juice your own fresh fruit and use that instead of buying bottled juice.

-Or for a "heartier" popsicle, blend some fruit and yogurt together (morning smoothie style), banana, strawberry, and berries work well.

Once you've chosen one of these options the next step is it into an ice cube tray or popsicle molds. If you don't have a mold which usually has sticks to hold your frozen popsicle then you're going to need some 'popsicle sticks'. I encourage you to steal these little wooden stir-sticks from your local Starbucks, or you can use your imagination and find something else that is suitable.


Pop them in the freezer and you're done... tasty, and high-fructose corn syrup free!
For a little info on high-fructose corn syrup check out http://www.mayoclinic.com/health/high-fructose-corn-syrup/AN01588
and http://www.mcvitamins.com/high-fructose-corn-syrup.htm.
Enjoy!

***If something needs sweetening try honey a local honey or raw sugar (no, we can't get that local in Canada).